Diaphragm Check Valves

Double-Door Wafer Check Valves
Food Grade & Sanitary Air Blow Check Valves
Food Grade & Sanitary Ball Check Valves

Food Grade & Sanitary Poppet Check Valves
Foot Valves
General Service Ball Check Valves
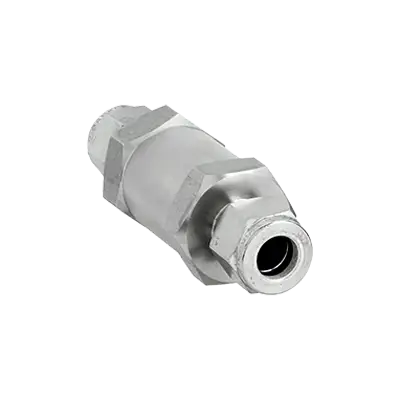
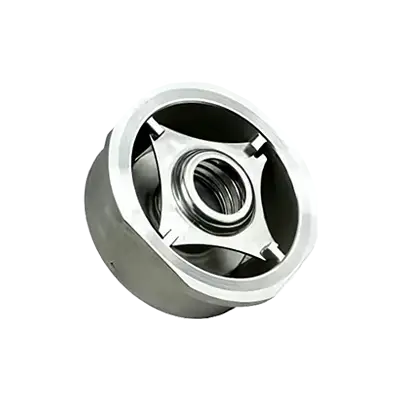
General Service Poppet Check Valves
Globe-Body Disc Check Valves
Inline Disc Check Valves
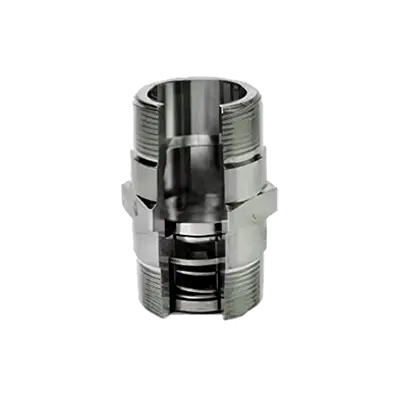
Inline Piston Check Valves
Inline Spring-Loaded Swing Check Valves
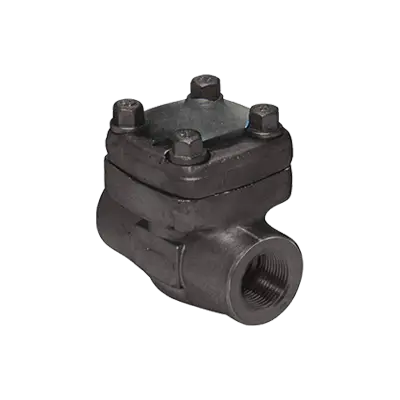
Inline Swing Check Valves
Instrumentation Poppet Check Valves
Wafer Disc Check Valves
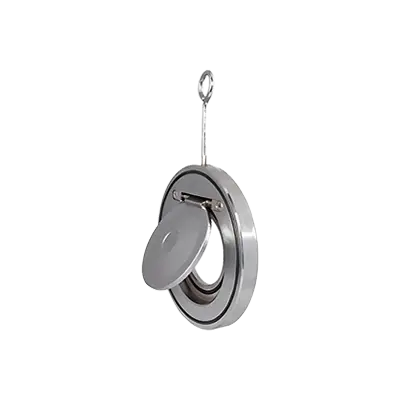
Wafer Spring-Loaded Swing Check Valves
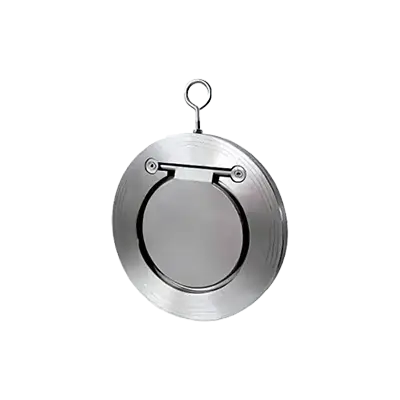
Wafer Swing Check Valves
Y Piston Check Valves
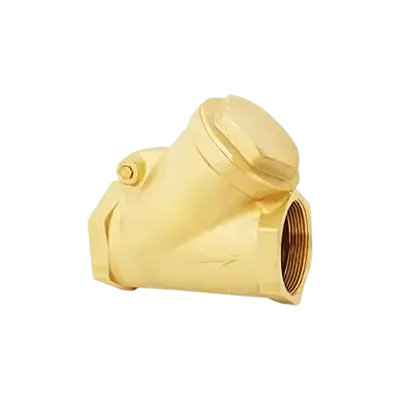
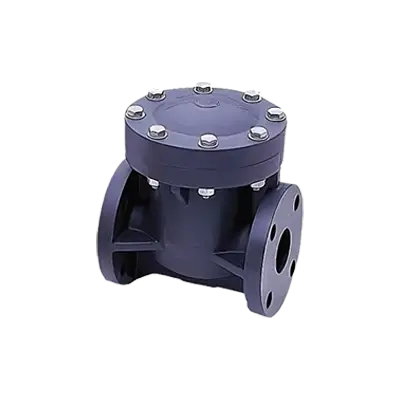
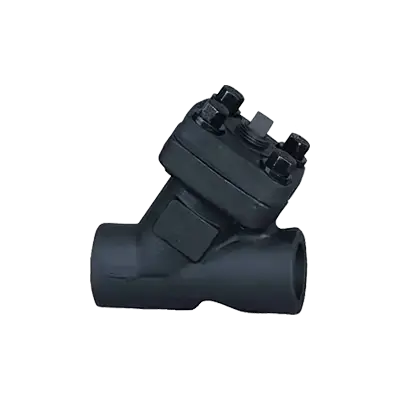
Y Swing Check Valves
Frequently Asked Questions
What is a check valve and how does it work?
What are the different types of check valves?
How do you install a check valve?
What are the common applications of check valves?
How do you maintain and troubleshoot a check valve?
What materials are check valves made from?
How do you choose the right check valve for a specific application?