.....Read More
Anchorage Connectors

Carabiners for Fall Protection

Fall Protection Harnesses & Body Belts

Fall Protection Kits

Fall Rescue & Descent Equipment

Guardrails, Gates & Warning Lines for Fall Prevention
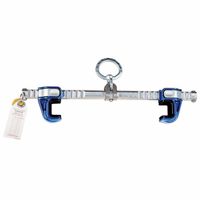
Horizontal Lifelines
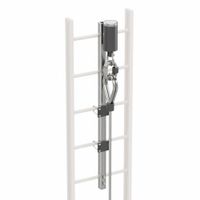
Ladder Lifeline Systems
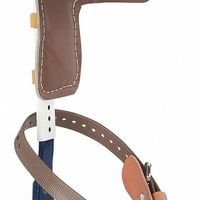
Pole Climbing Equipment
Self-Retracting Lifelines & Fall Protection Lanyards
Tool Tethering & Dropped-Object Safety
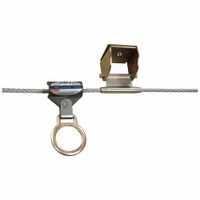
Vertical Rope Lifelines & Rope Grabs
Frequently Asked Questions
What is the difference between a fall arrest system and a fall restraint system?
How do I properly inspect a fall protection harness?
What are the OSHA requirements for fall protection equipment?
How often should fall protection equipment be inspected?
What is the maximum allowable free fall distance for a fall arrest system?
How do I choose the right anchor point for fall protection?
What is the lifespan of a fall protection harness?
How do self-retracting lifelines (SRLs) work?
What are the key components of a personal fall arrest system?
How do I properly fit and adjust a fall protection harness?